
How to add and manage website photos
Attach a photo in Canvas, ask the Agent to place it, and check that it looks right and has useful alternative text.
Start with an image you have permission to publish. For a product page, use a photo of the actual product. Keep the original file and choose an upload that is large enough for the intended space without making the page heavier than it needs to be.
1. Add the photo to your request
Open the target page in Canvas. Use the attachment control in the Agent composer to add your image. Where the stock photo picker is available, you can search for a photo, select it, and attach it to the request. Read the image’s terms before using it. Open the right page in Canvas so the Agent has the context for the change.
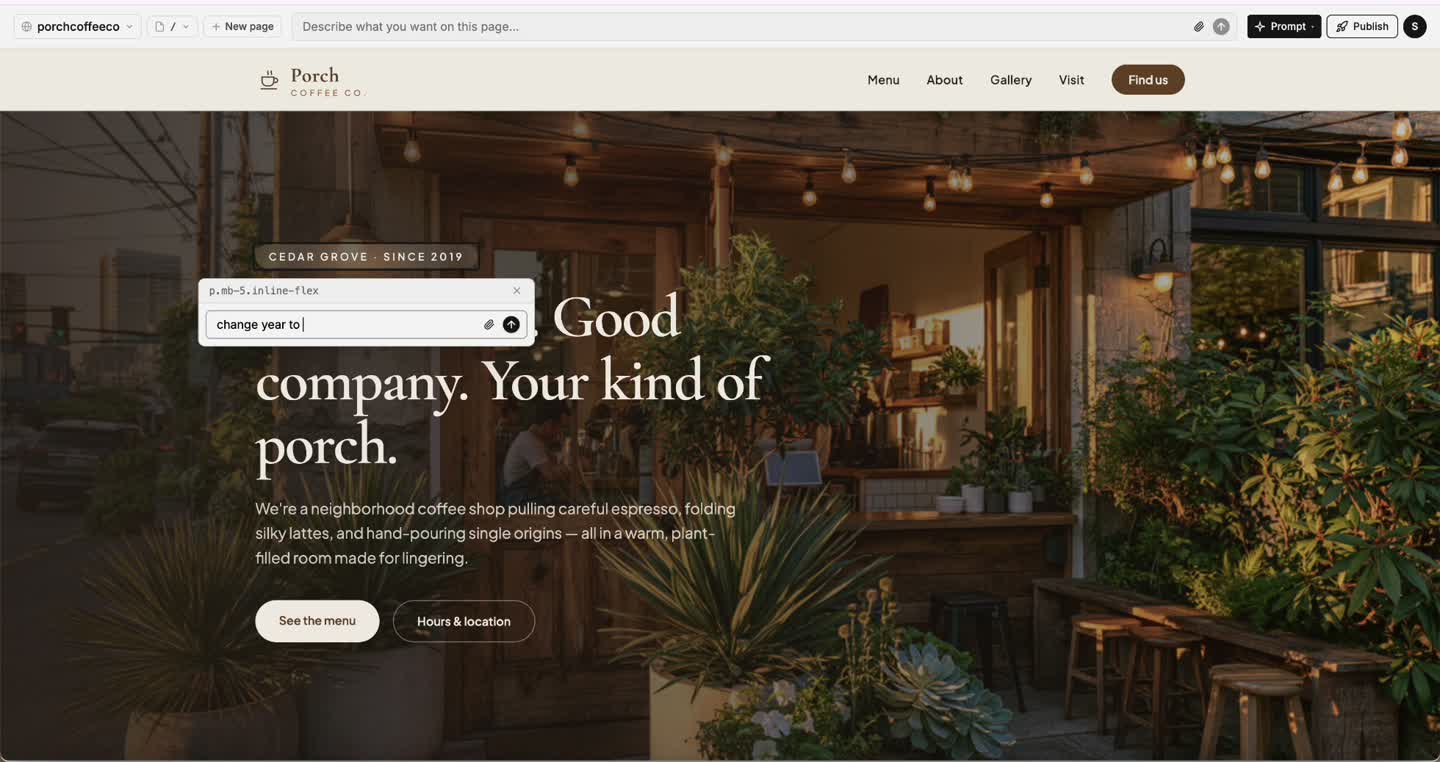
2. Say where the photo goes
Name the section and specify whether you are adding or replacing an image. For example: “Replace the photo next to the house blend description with the attached bag photo. Keep the existing product link. Use the alternative text ‘Blue 12-ounce bag of Harbor Roast house blend.’” When a picture is only decoration, ask for empty alternative text so it can be skipped by screen readers.
3. Review the crop and publish
Check the image in desktop and phone previews. Make sure the important part of the image stays in view. Try any link attached to it. When the build is ready, publish the version you reviewed and check the public page on a phone.
If the image is your business logo, update it in Brand & styles and check every place that uses the shared logo. For a page that needs more than a picture change, give the Agent the facts and limits of the edit.
If the old image still appears
Check the page path and make sure the latest build finished. If the preview is correct and the live page is old, confirm you published the latest version. If only one of several pages uses the new image, name the other placements in your next request.
Frequently asked questions
Does attaching a photo place it on my website?
Attaching gives the Agent an image to use. Tell it which page and section should display the photo.
What should I write for alternative text?
Describe the useful information the picture adds. Use an empty description for purely decorative art.
Can I replace a photo without changing the layout?
Yes. Ask to replace that specific image and keep the surrounding text, crop, or dimensions you want to preserve.
Can I remove a photo from a page?
Yes. Ask the Agent to remove the placement and check the ready preview. If the same photo is used elsewhere, review those pages before removing the shared file.
Find a stock video in Studio
Open the attachment control, choose the stock library, then select Videos. Search for a subject and open a result to preview it. The preview starts muted and has playback controls. Select the video and choose Attach, then tell the Agent which page or section should use it.
Importing saves the video to your site's media library and uses site storage. It does not publish the page. Frontpage prepares a browser-compatible MP4 where it can. If it keeps the original, read the compatibility warning and check playback before publishing. Videos have a 50 MB import limit. Photos remain available in the same library; image-only onboarding fields still accept photos only.
You can also ask the website Agent to find a stock video. Discuss can search; Build can save and place one. The Agent uses metadata and preview thumbnails to choose a clip, so review the actual playback yourself. Follow the video's content terms before using it.